
 I’ve had this Aerogarden for a while but most of it’s life has been spent in a box in the garage because the lights quit working shortly after the 1 year warranty ran out. I decided to take it out this weekend and figure out what the issue was.
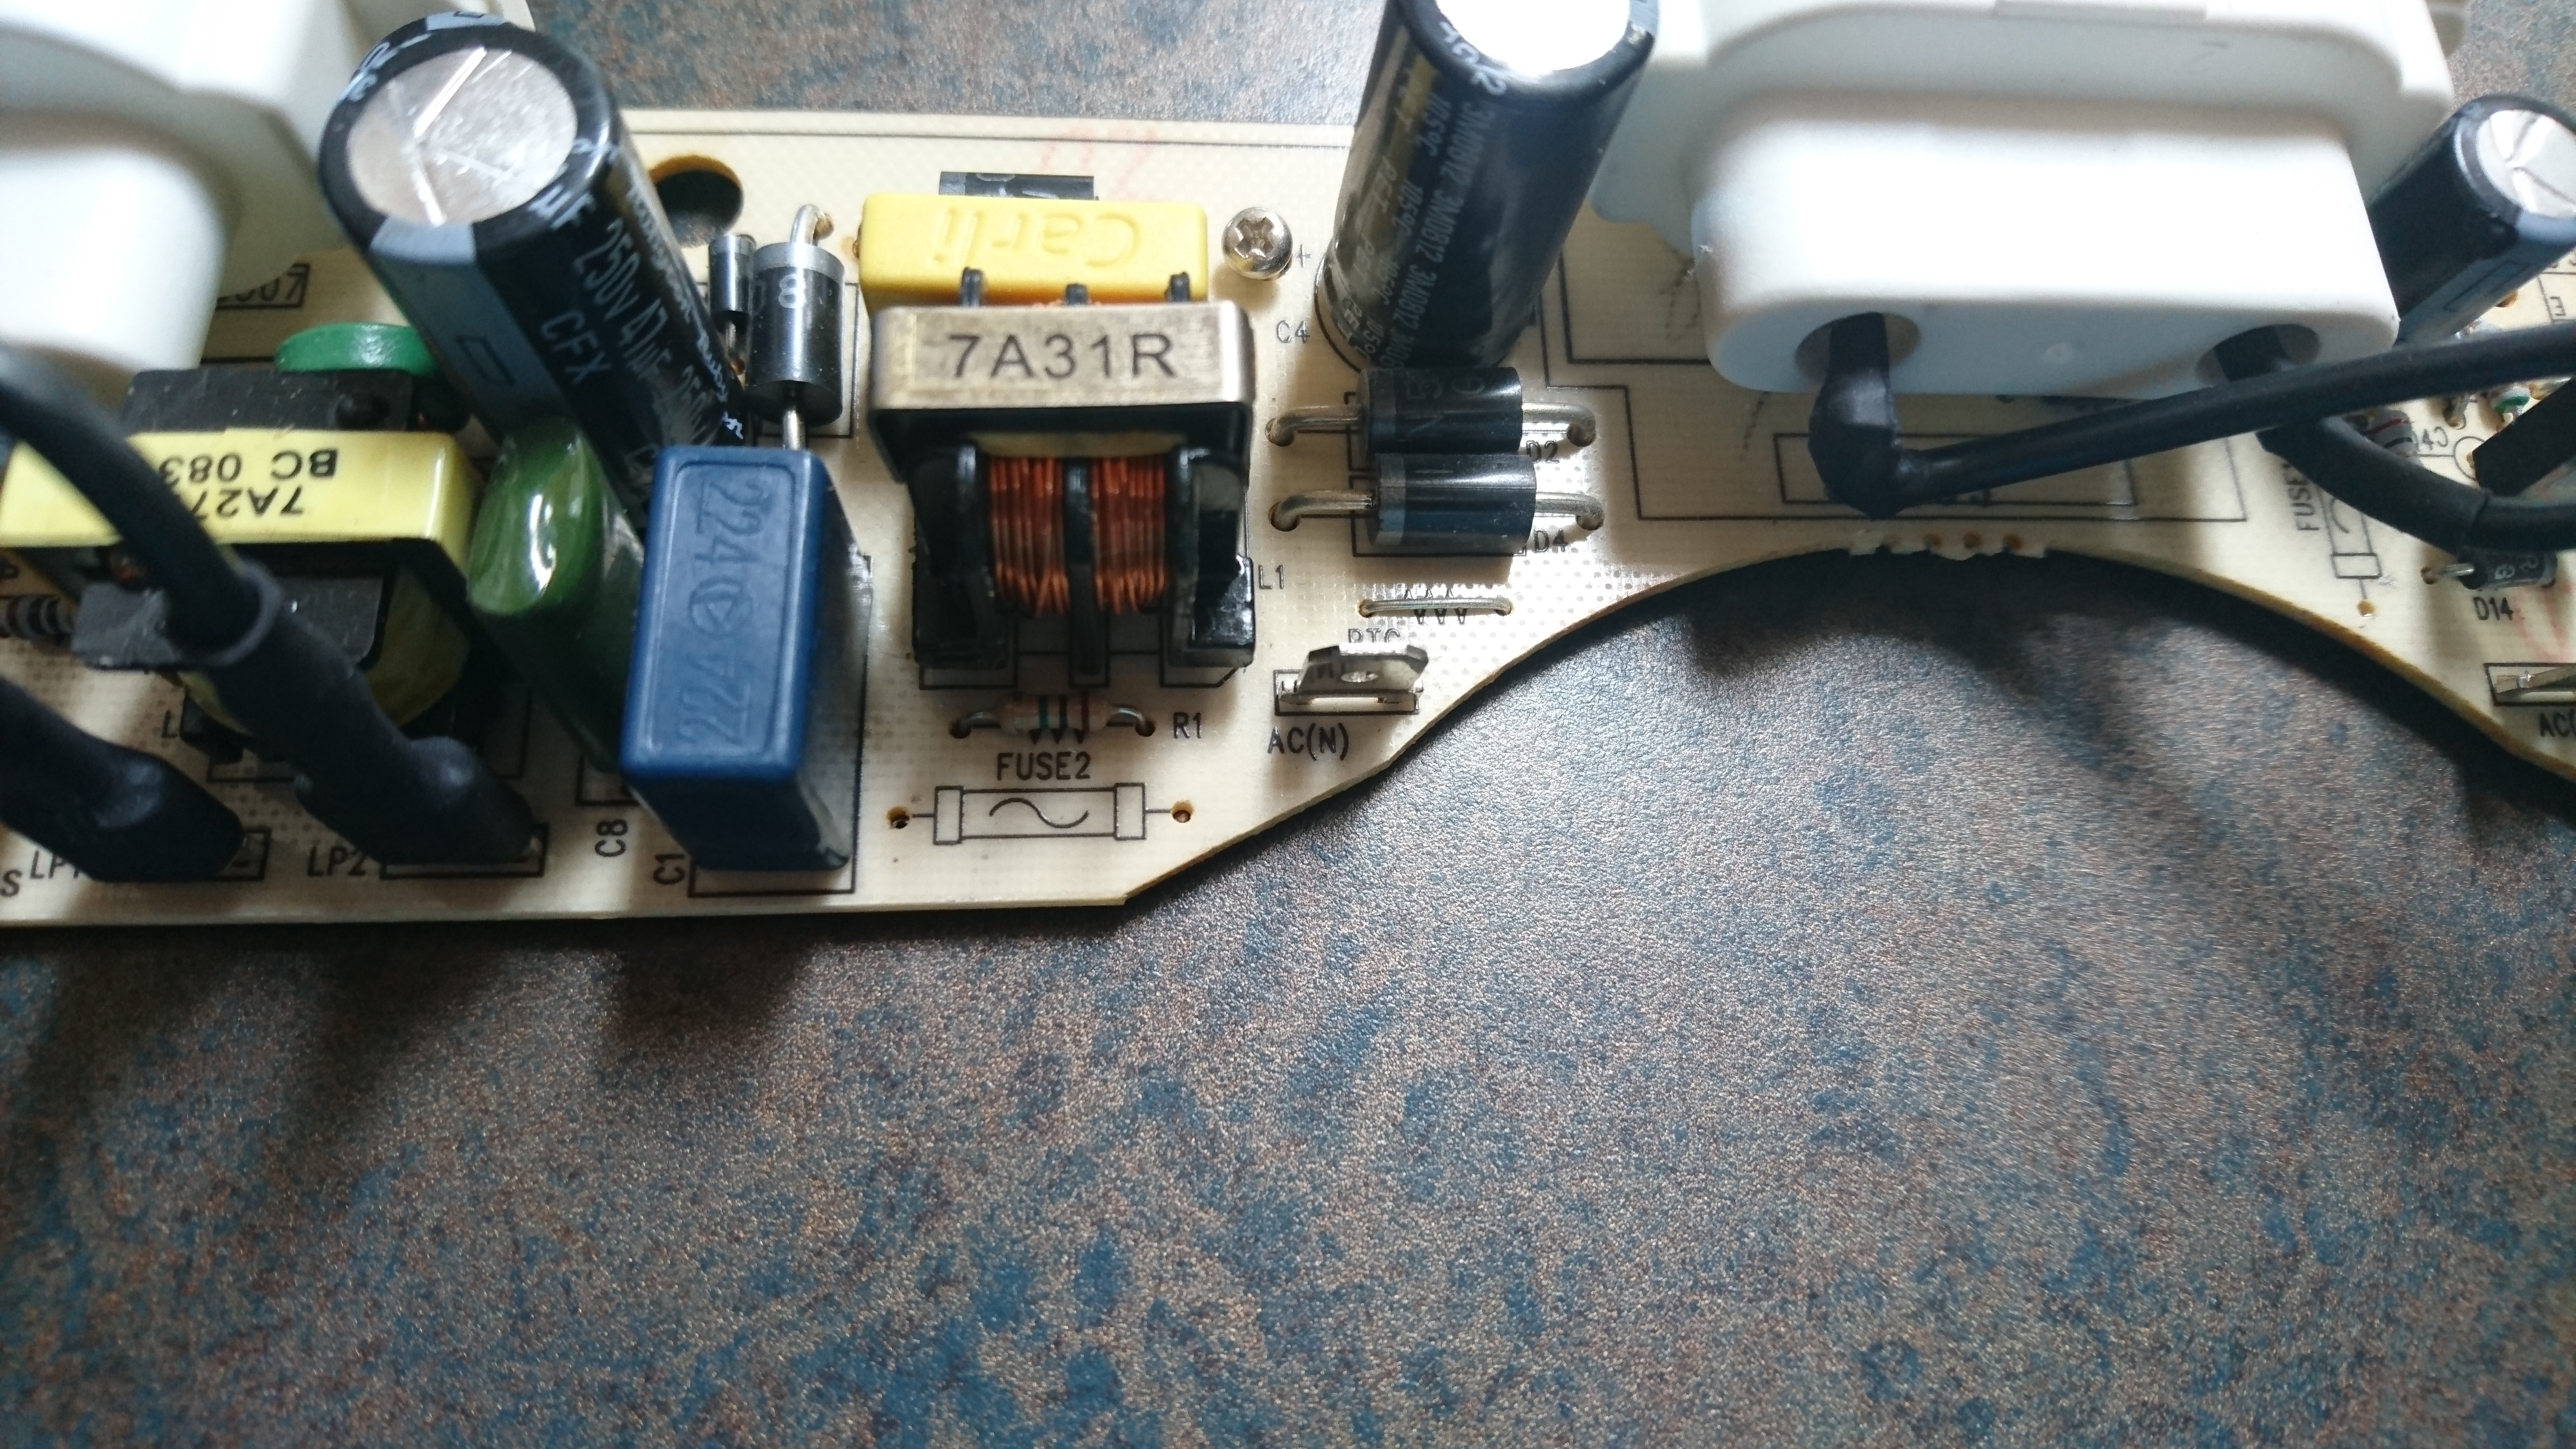 I disassembled the the light fixture and pulled out the power board and there are 2 250V 3A fuses on there. Both of then were blown. I de-soldered those thinking I would just replace them and the board would work. Then I got to thinking why do I want to fix the power supply for the proprietary ( and not very long lasting ) bulbs so instead I hacked it to take A19 ( “standard” ) light bulbs.
I didn’t take pictures along the way but the hack is pretty simple.
- Disassemble the light fixture – 2 of the bolts are Torx. You don’t need to remove the 2 screws next to the power plug
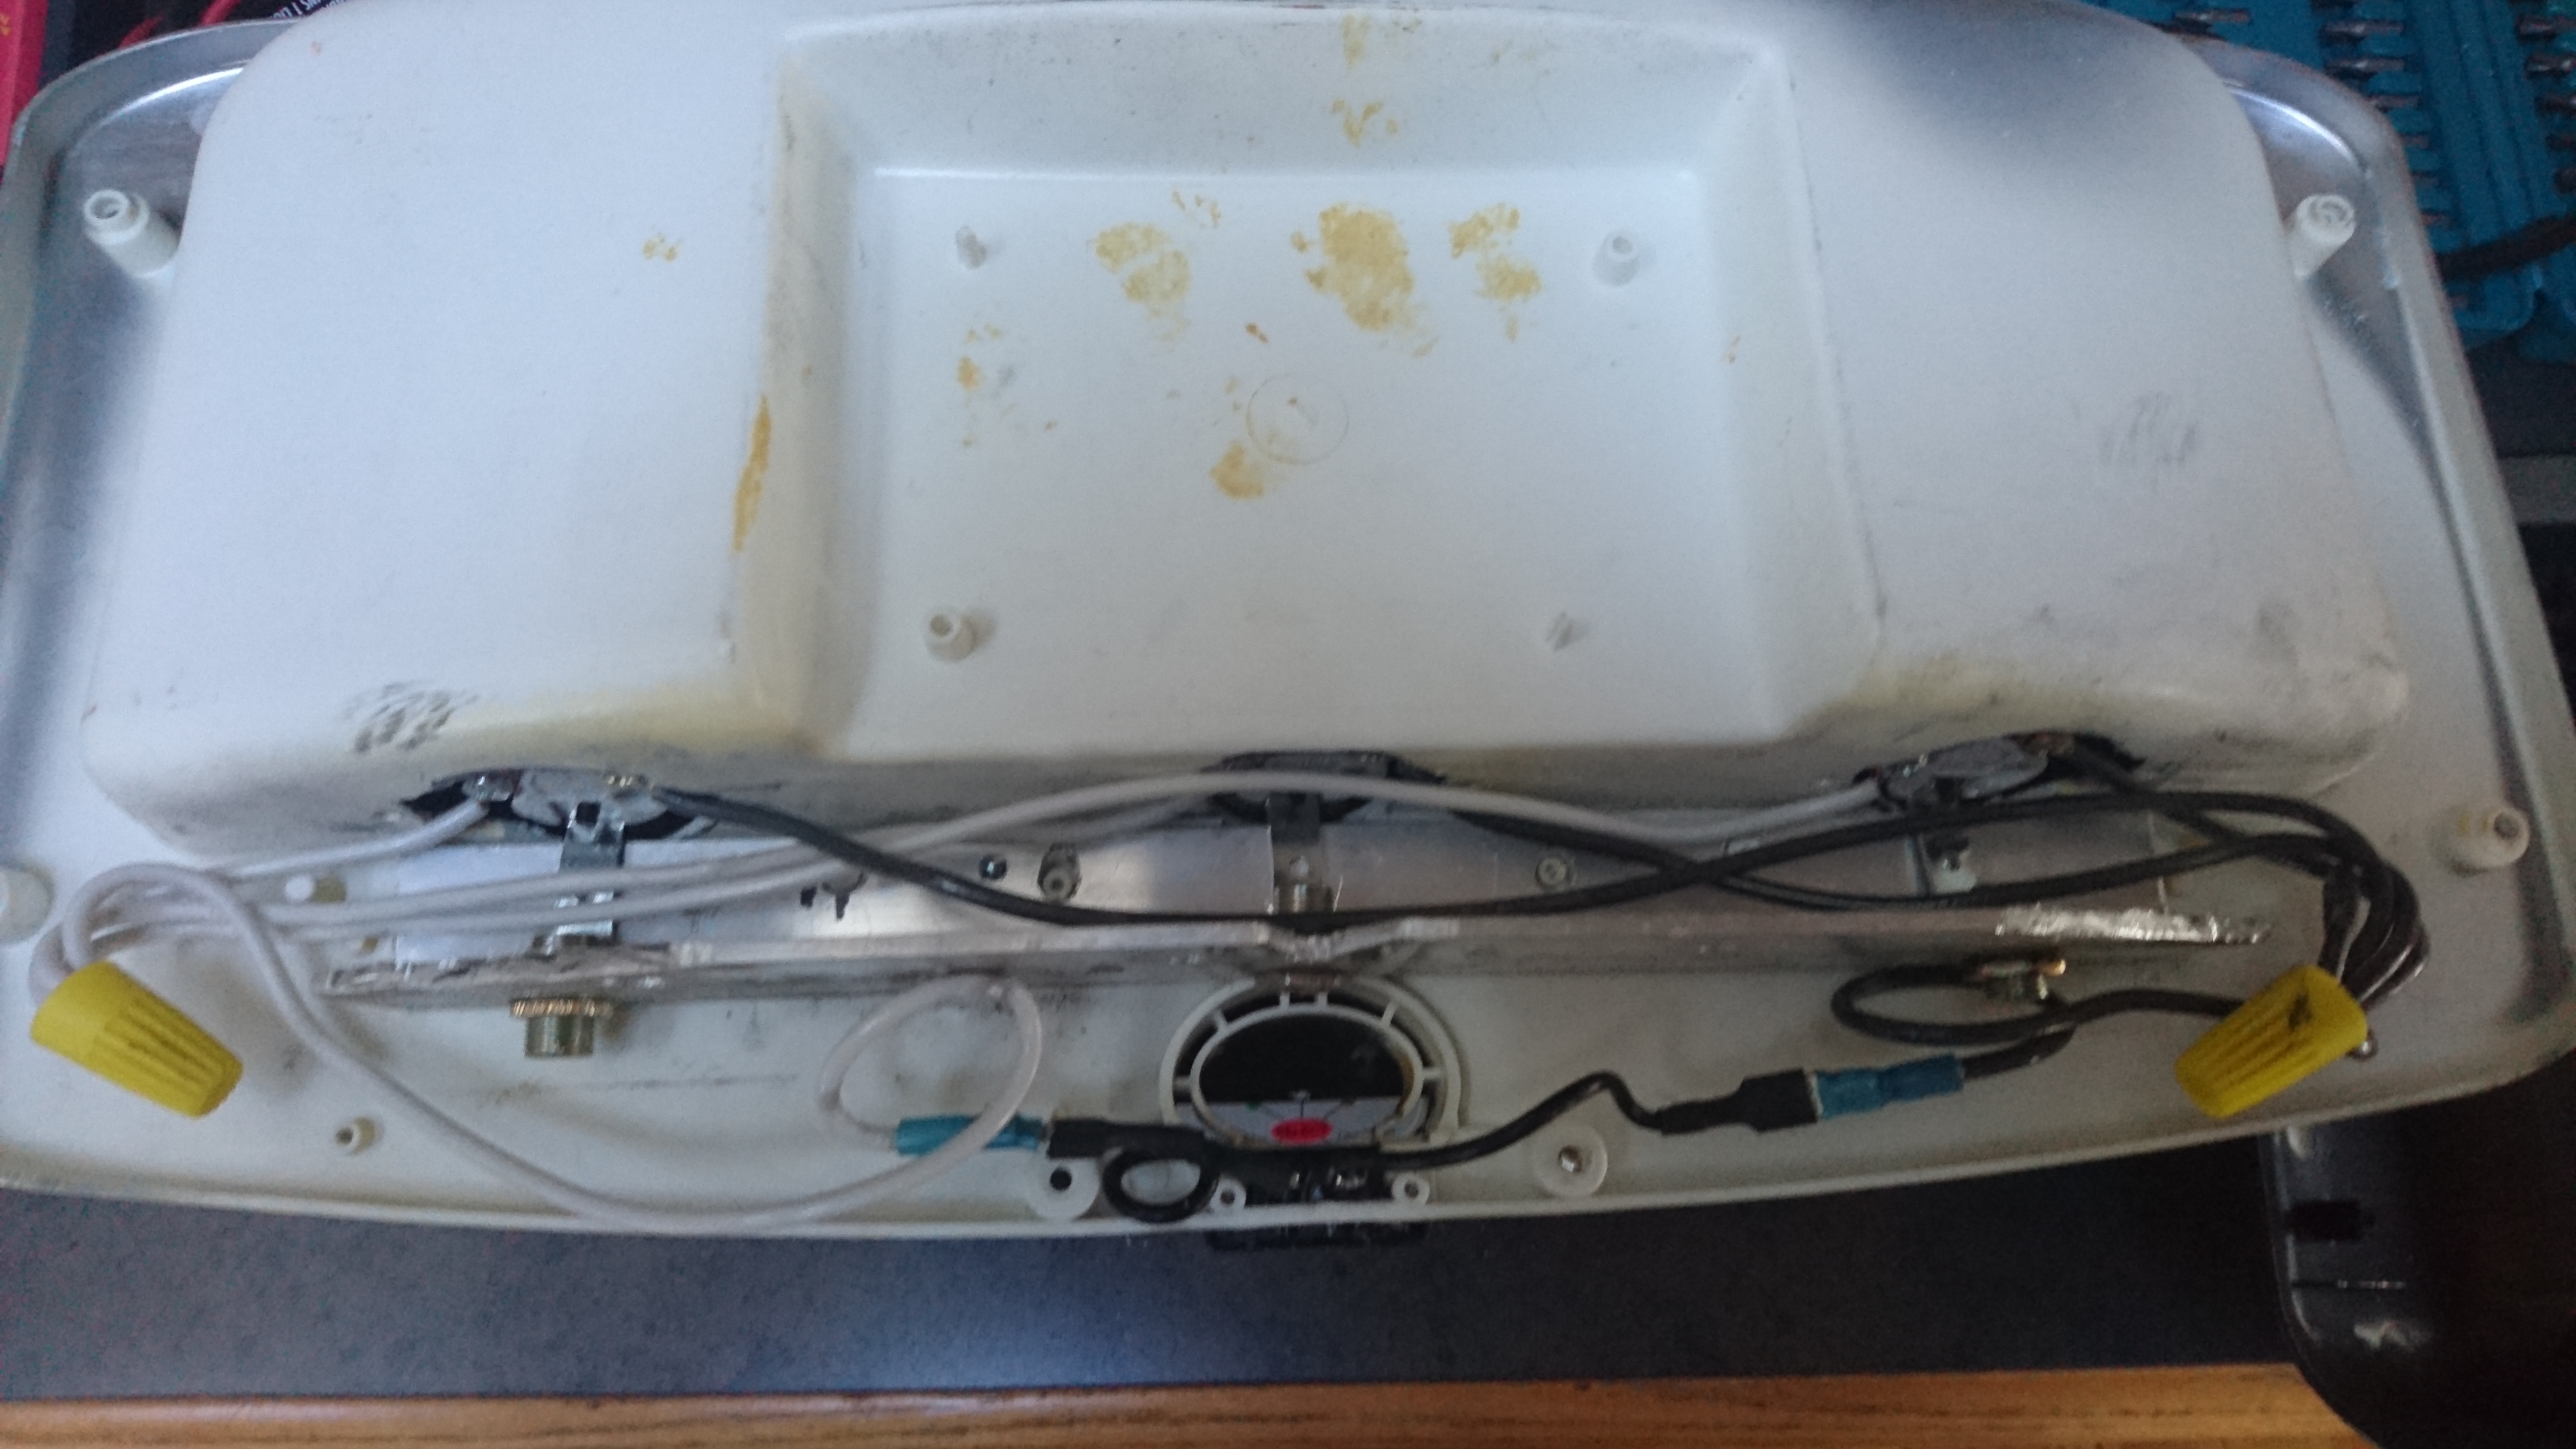
- Remove the old power supply and CFL mounting brackets
- Mark the size of the holes for the new light fixtures – medium socket
- Cut out the holes with a Dremel. I left the original CFL mounting holes in case I wanted to go back to the old bulbs.
- Cut a piece of aluminium L bracket to length and height. Notice there is a notch part way though the light fixture that you need to make room for. I also added 4 holes for alignment to the old screw mounts. I would check to make sure that the fixture has room to close properly at this point.
- Attach some 14 gauge wire to the bases and mount them to the L bracket.
- Attach the new wire to the power plug on the fixture.
- Slide the bases through the holes from step 3.
- Mount the L bracket to the fixture with 2 Tek self taping bolts.
- Re-assemble the fixture and you’re all done.

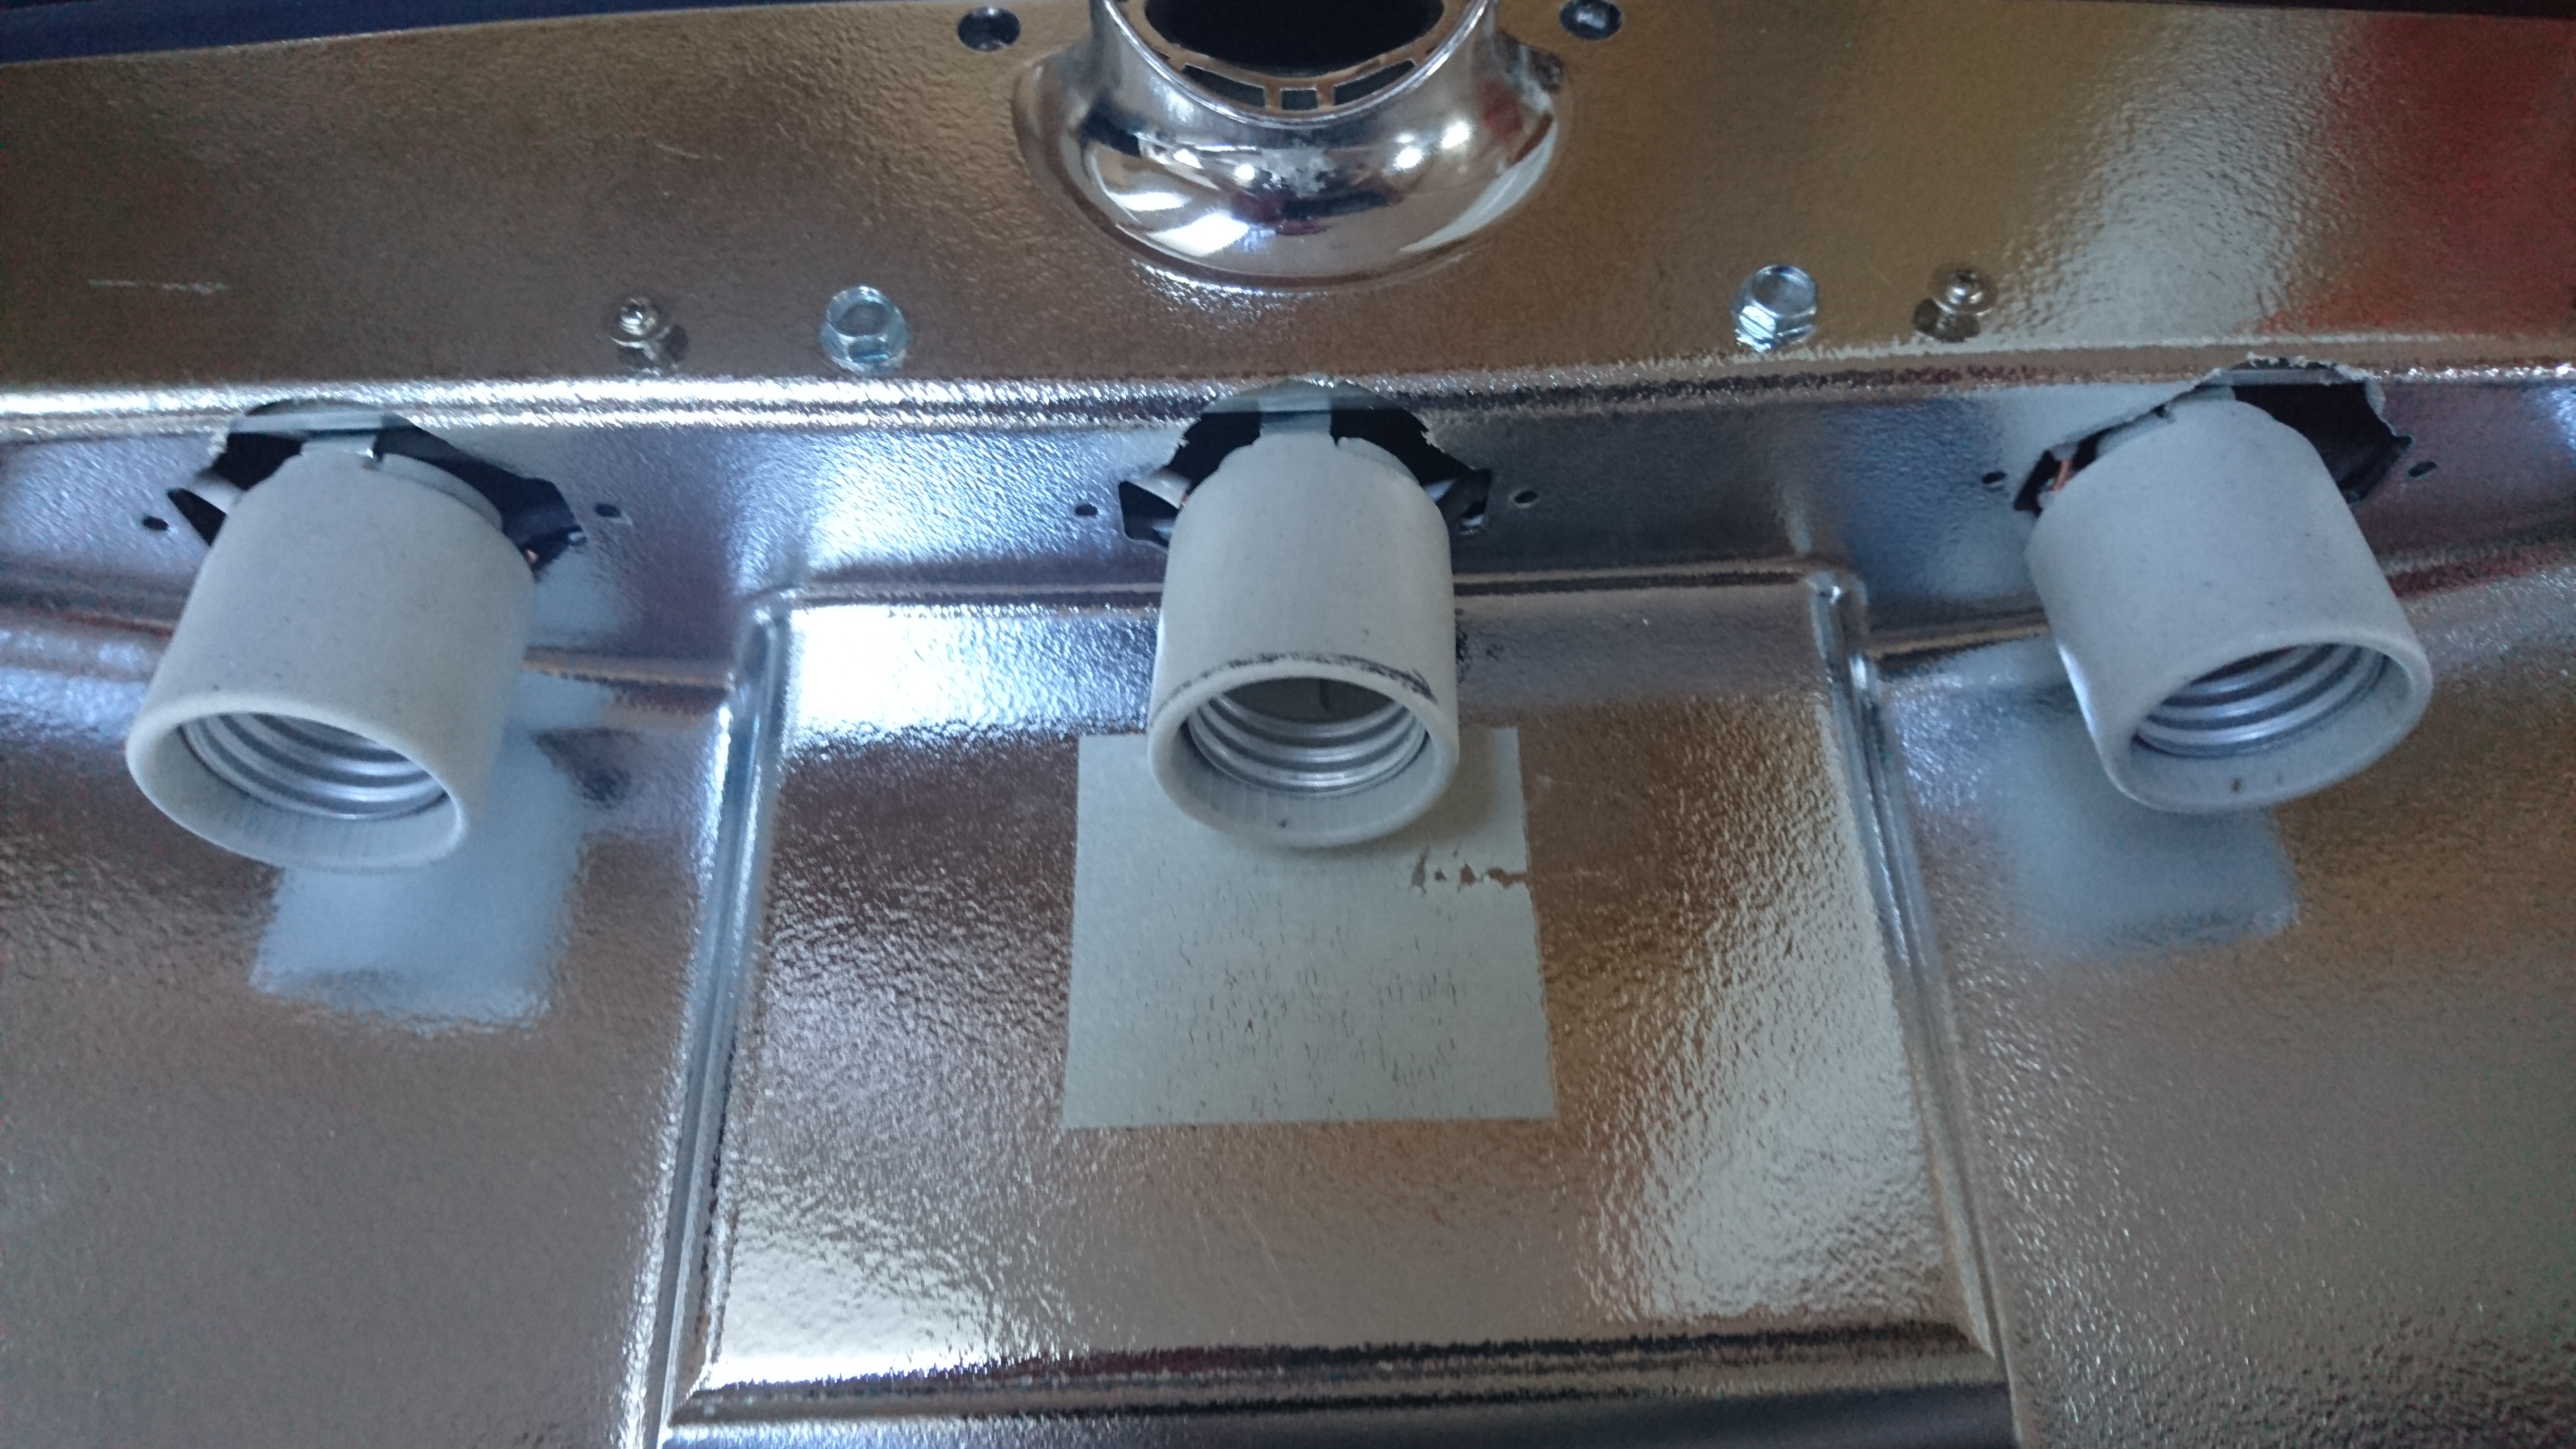
I’ve currently got 3 60W incandescent grow bulbs in there but I’m on the lookout for some LED or CFL grow lights.