Scaling Upverter STL Output in FreeCAD

Upverter has a nice STL export ( when it works ) of your board so you can do mechanical modelling for your design. Unfortunately when it gets imported into FreeCAD the scale is 10 times too small.

FreeCAD as of 0.15 does not have menu item that allows you to scale mesh imports. Luckily the python console can do the scaling of imported meshes.

First import the mesh ( STL file ) that you want to add to the current design. Select it in the “Combo view->Model” tree on the left of the FreeCAD screen. Then use the python console ( View->Views->Python console ) with the code below to scale it up 10 times.

import Mesh,BuildRegularGeoms
mat=FreeCAD.Matrix()
mat.scale(10.0,10.0,10.0)
mesh=App.ActiveDocument.ActiveObject.Mesh.copy()
mesh.transform(mat)
Mesh.show(mesh)

Now you should have a correctly sized copy of the STL board that you imported.

Here is the original post on importing and scaling ( I wanted to scale a mesh I had already imported ).

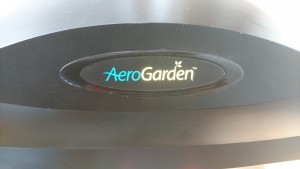
Aerogarden Bulb Mod

DSC_0220I’ve had this Aerogarden for a while but most of it’s life has been spent in a box in the garage because the lights quit working shortly after the 1 year warranty ran out. I decided to take it out this weekend and figure out what the issue was.

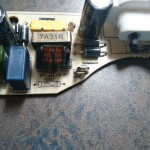
DSC_0217I disassembled the the light fixture and pulled out the power board and there are 2 250V 3A fuses on there. Both of then were blown. I de-soldered those thinking I would just replace them and the board would work. Then I got to thinking why do I want to fix the power supply for the proprietary ( and not very long lasting ) bulbs so instead I hacked it to take A19 ( “standard” ) light bulbs.

I didn’t take pictures along the way but the hack is pretty simple.

  1. Disassemble the light fixture – 2 of the bolts are Torx. You don’t need to remove the 2 screws next to the power plug
  2. Remove the old power supply and CFL mounting brackets
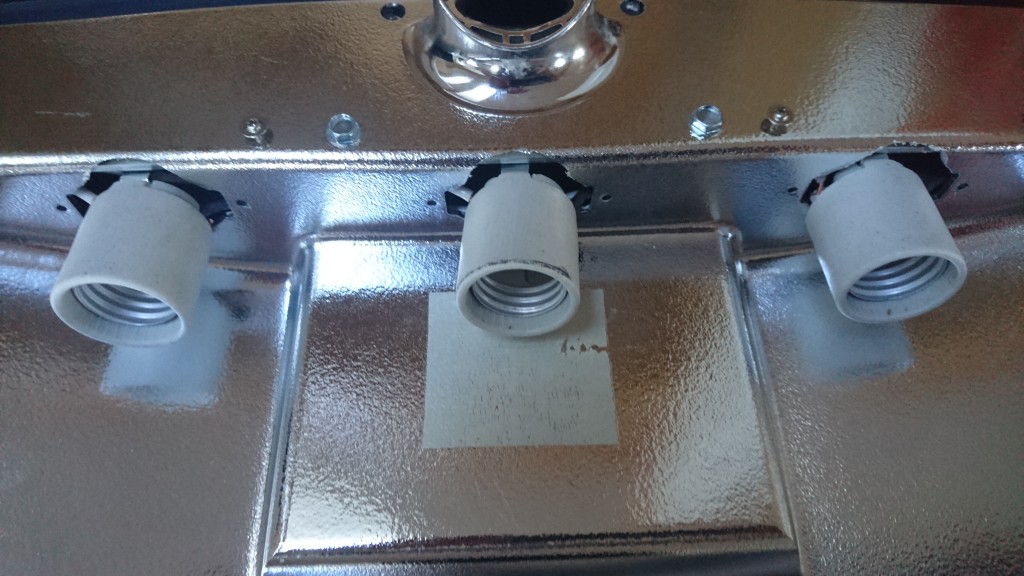
  3. Mark the size of the holes for the new light fixtures – medium socket
  4. Cut out the holes with a Dremel. I left the original CFL mounting holes in case I wanted to go back to the old bulbs.
  5. Cut a piece of aluminium L bracket to length and height. Notice there is a notch part way though the light fixture that you need to make room for. I also added 4 holes for alignment to the old screw mounts. I would check to make sure that the fixture has room to close properly at this point.
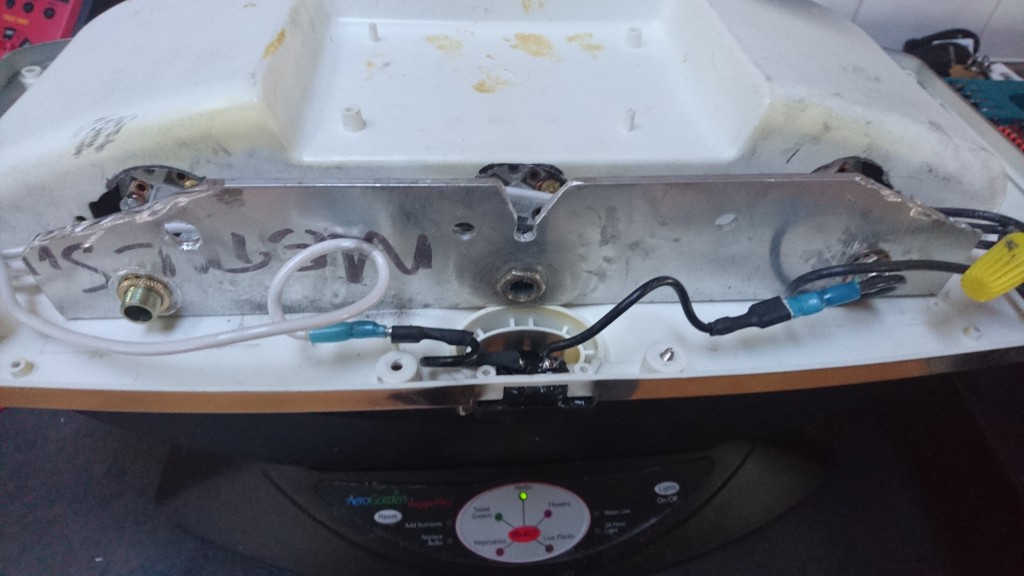
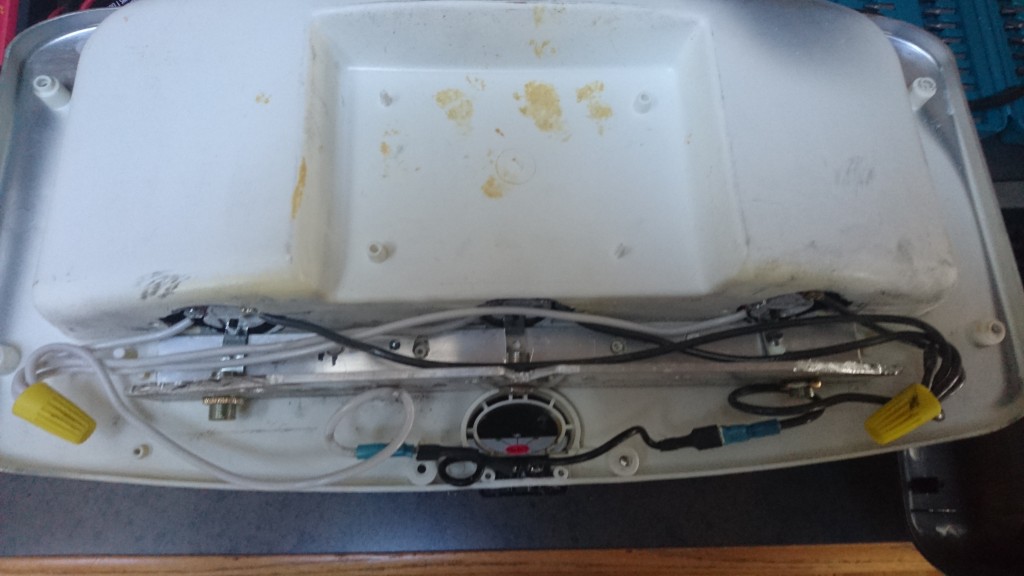
  6. Attach some 14 gauge wire to the bases and mount them to the L bracket.
  7. Attach the new wire to the power plug on the fixture.
  8. Slide the bases through the holes from step 3.
  9. Mount the L bracket to the fixture with 2 Tek self taping bolts.
  10. Re-assemble the fixture and you’re all done.

DSC_0214

DSC_0215
DSC_0213

I’ve currently got 3 60W incandescent grow bulbs in there but I’m on the lookout for some LED or CFL grow lights.